Deploy Your First Web App: From Idea to Live Site
Deploy Your First Web App: From Idea to Live Site
Many developers enjoy writing code to build things, but when it comes to deploying an app, things can get complicated quickly. Whether you have an innovative communication device that will change the world or just want to help your Granny sell her delicious cake recipes, this guide will take you through the fastest steps to turn your idea into a product.
Step 1: Buy a Domain
A unique domain name makes your site more professional. You can buy a domain for a few bucks at Namecheap, but if you plan to use AWS for hosting, buying it through AWS Route 53 simplifies the automatic configuration with S3 and Amplify.
Buying a Domain via AWS Route 53
- Log in to AWS and go to the Route 53 service.
- Click "Register domain" and enter your desired domain name.
- Choose a domain extension (e.g.,
.com,.net). - Complete the purchase and AWS will automatically set up DNS settings.
- You can later manage DNS records under Hosted Zones.

Step 2: Design Your Website
Now that you have a domain, you need to build the actual website. You have two main options:
Option 1: Use a CMS (Shopify, Magento, WooCommerce)
If you plan to sell products, CMS platforms like Shopify, Magento, or WooCommerce provide templates and built-in e-commerce features. However, they come with fees, and moving away from them later can be difficult due to vendor lock-in.
Option 2: Use a Pre-built Template
If you want more flexibility, start with a pre-built template from Envato Elements. These templates support React, Next.js, JavaScript, or TypeScript.
Example: Using a Next.js Template
- Download a Next.js template from Envato Elements.
- Install dependencies using Node.js:
npm install # or yarn install
- Run the development server to preview your site:
npm run dev # or yarn dev
- Customize the design using Tailwind CSS and Hero Components from Tailwind UI.
- Optimize for performance by removing unnecessary code and assets.

Step 3: Push Your Code to GitHub
Before deployment, your code should be on GitHub so AWS Amplify can access it.
Setting Up GitHub Repository
- Install Git (if not installed):
sudo apt install git  # Linux
brew install git      # macOS
- Initialize Git in your project directory:
git init
git add .
git commit -m "Initial commit"
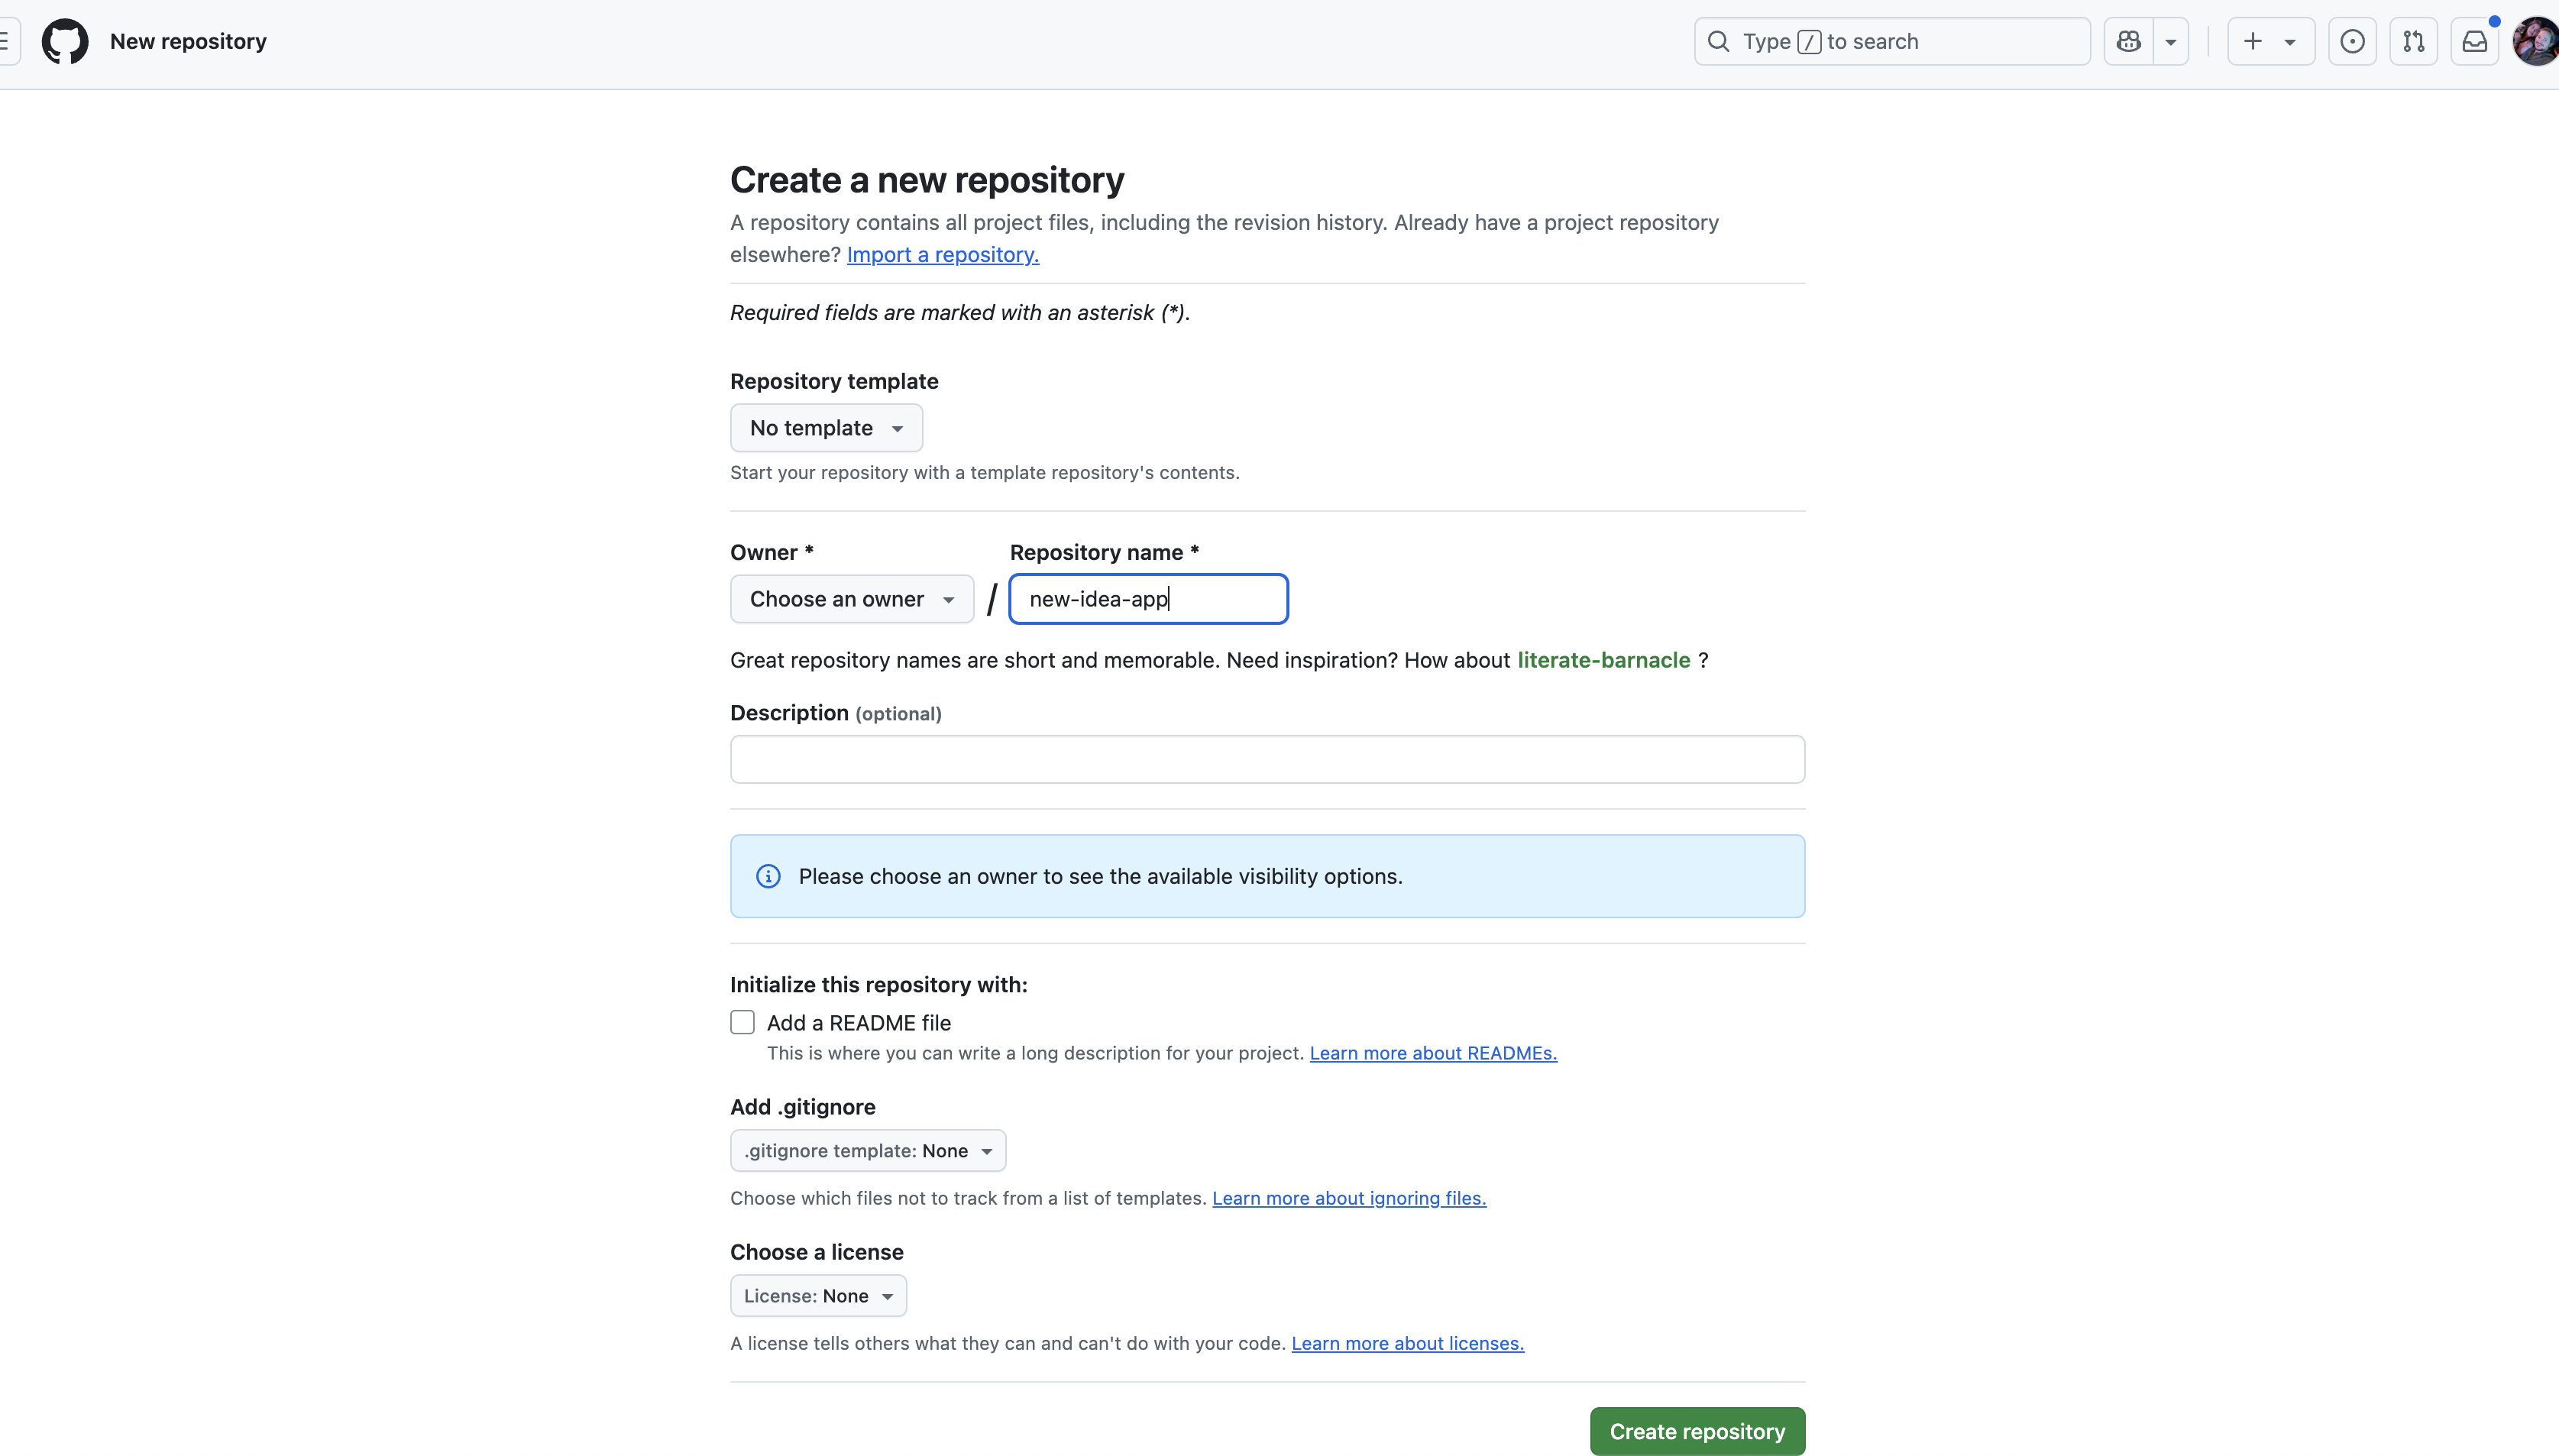
- Create a new repository on GitHub:
- Go to GitHub and create a new repository.
- Copy the repository URL and run:
git remote add origin https://github.com/yourusername/yourrepo.git
git push -u origin main

Step 4: Deploy with AWS Amplify
Now that your code is on GitHub, it's time to deploy.
Steps to Deploy via AWS Amplify
- Log in to AWS and go to the Amplify service.
- Click "Create App".
- Connect your GitHub repository:
- Authorize AWS Amplify to access your GitHub account.
- Select your repository and branch.
- Configure Build Settings:
- If using Next.js, modify
amplify.ymlto ensure proper build settings:
version: 1
frontend:
  phases:
    preBuild:
      commands:
        - npm install
    build:
      commands:
        - npm run build
  artifacts:
    baseDirectory: .next
    files:
      - '**/*'
- Click "Save and Deploy".
- Add a Custom Domain:
- If using Route 53, click "Add Custom Domain" and select your purchased domain.
- AWS will automatically configure DNS settings.

Step 5: Optimize and Go Live 🚀
Now that your website is deployed, here are some final optimizations:
Improve Performance
- Use image optimization with Next.js:
import Image from 'next/image';

<Image src="/images/banner.jpg" alt="Banner" width={800} height={400} quality={90} />
- Enable lazy loading for images and components.
- Use CloudFront to cache static assets.
Secure Your Website
- Enable HTTPS (done automatically by AWS Amplify).
- Use Content Security Policy (CSP) headers to prevent XSS attacks.
const cspHeader = "default-src 'self'; script-src 'self' 'unsafe-inline'";
res.setHeader('Content-Security-Policy', cspHeader);
Monitor User Behavior
- Add Google Analytics:
<script async src="https://www.googletagmanager.com/gtag/js?id=UA-XXXXX"></script>
<script>
  window.dataLayer = window.dataLayer || [];
  function gtag(){dataLayer.push(arguments);}
  gtag('js', new Date());
  gtag('config', 'UA-XXXXX');
</script>
- Use Hotjar for heatmaps and session recording.
What’s Next?
Now that your app is live, you can add more features:
🚀 Enhance Your App with These Features:
✅ Enable Payments using Stripe or PayPal. ✅ Improve SEO with metadata and structured data. ✅ Add Authentication via Google, Auth0, or Firebase. ✅ Set Up Analytics with Google Analytics and Hotjar.
Stay tuned for upcoming guides on these topics! 🎯